Most of our work is repair. This one was a build.
A commercial kitchen needed a walk-in freezer floor put in properly — not patched, not overlaid, built from the subfloor up while the rest of the kitchen carried on around us.
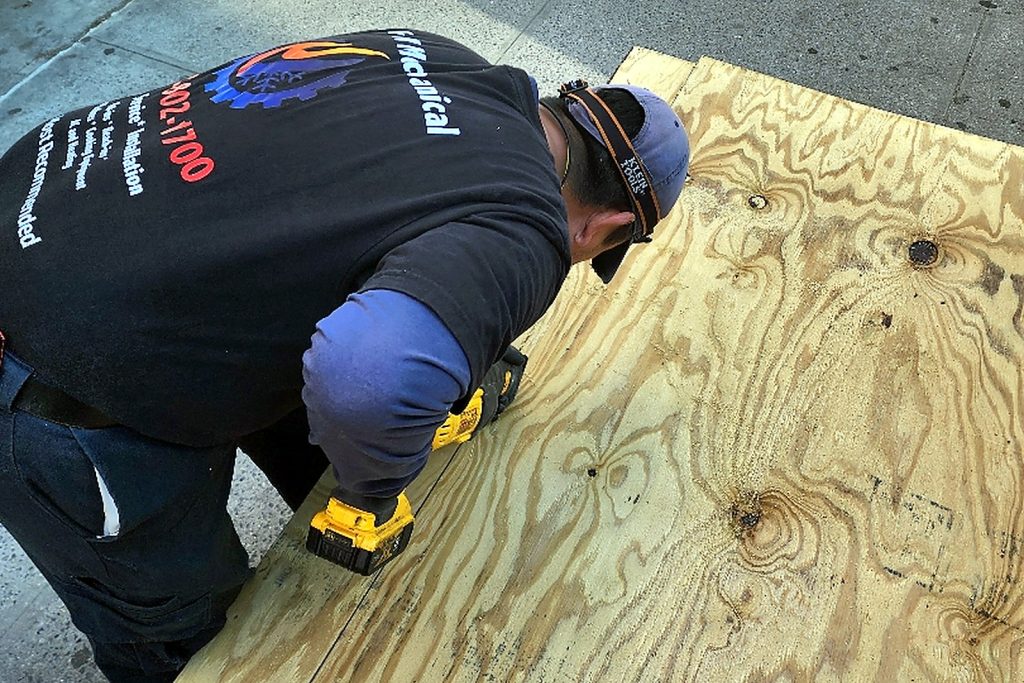
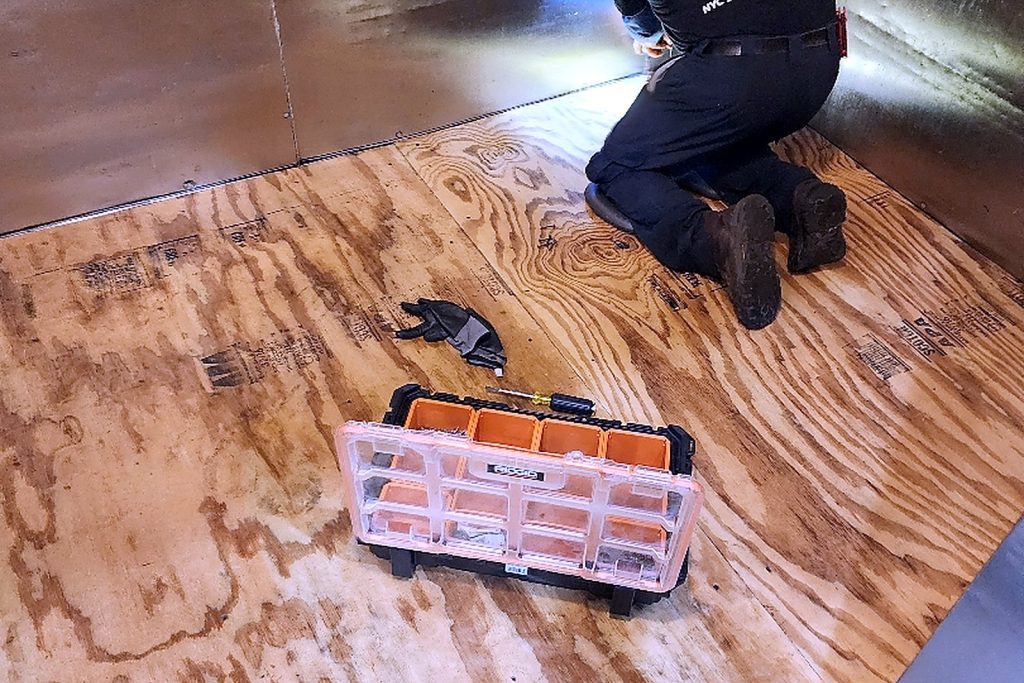
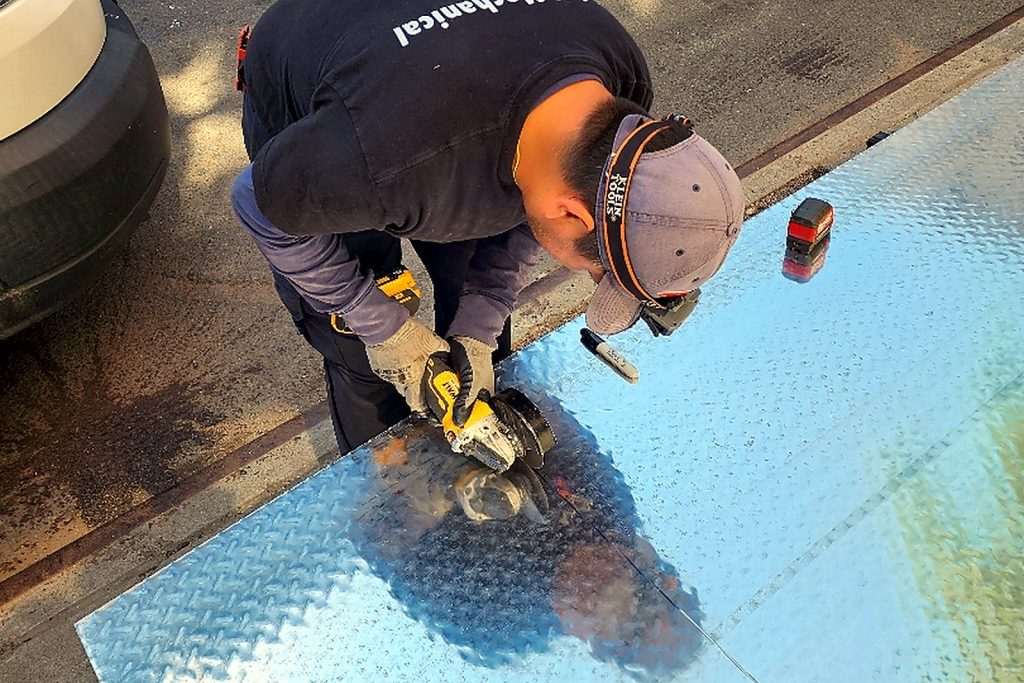
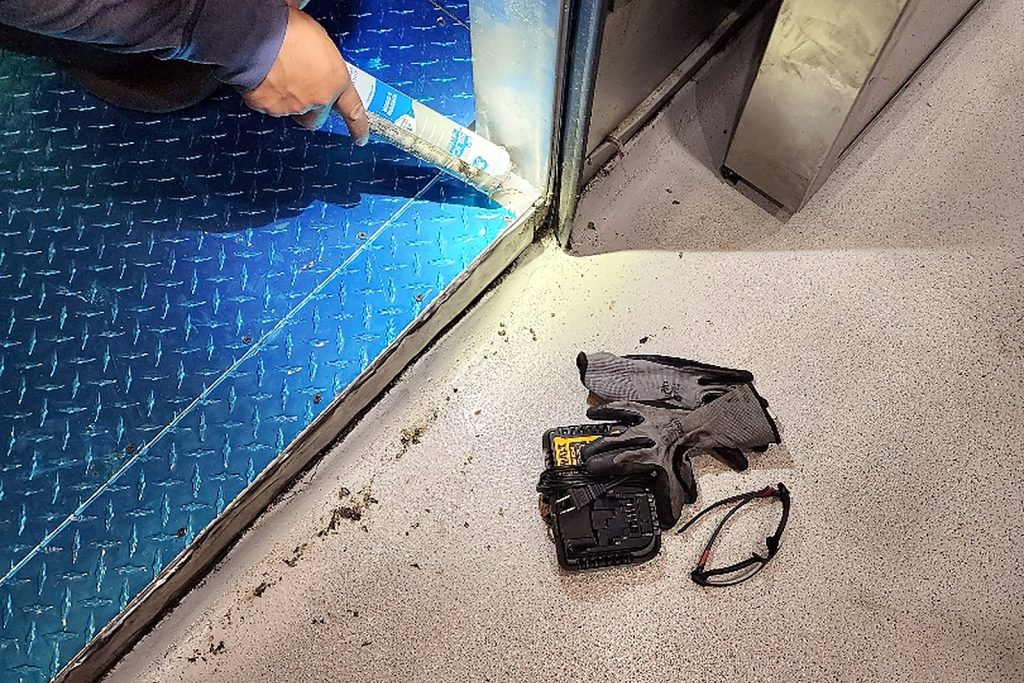
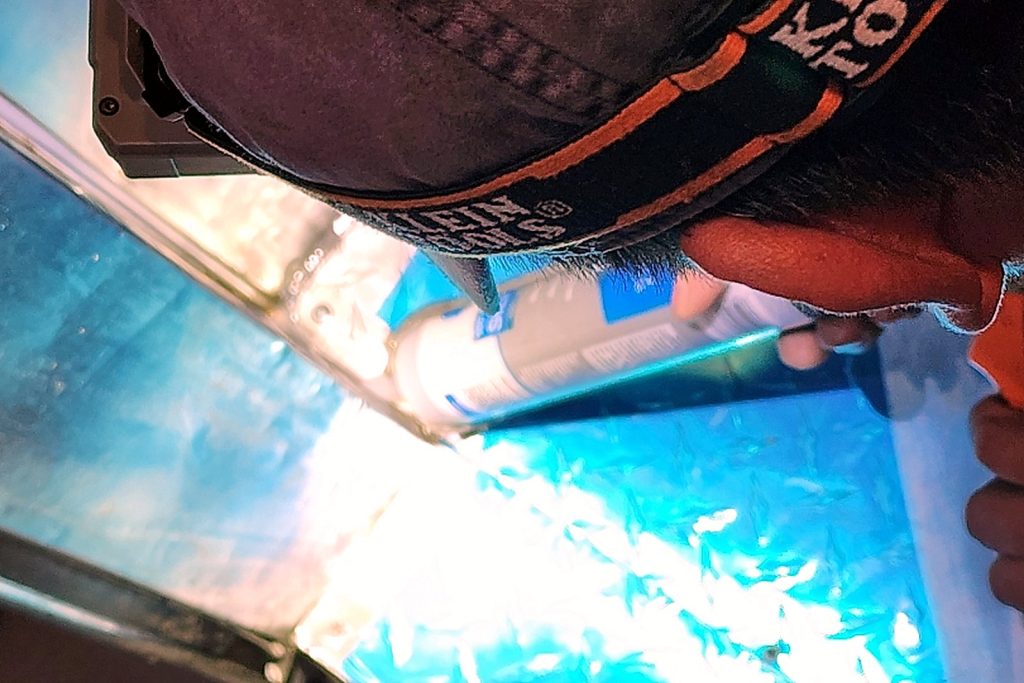
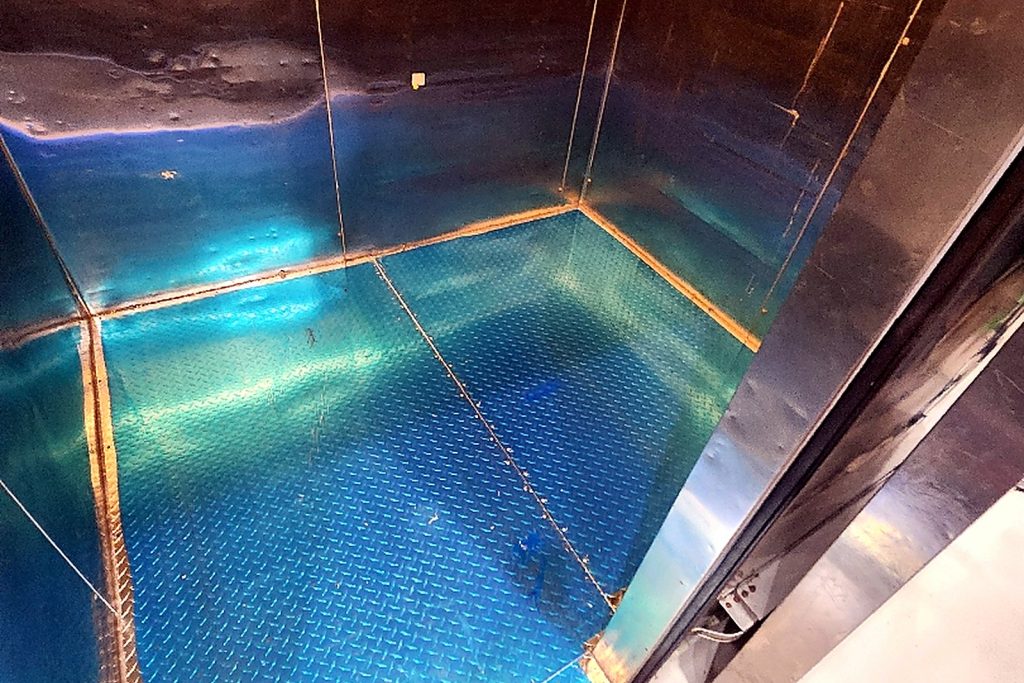
A walk-in floor is not really a floor. It’s the bottom face of an insulated box, and it has the hardest job of the six sides: it carries rolling loads, takes every spill, gets mopped, and still has to stop heat coming up out of the slab twenty-four hours a day.
Build-up runs plywood subfloor, rigid insulation board, then the diamond-plate deck on top. Each layer is doing one job. Skip the insulation and you’ve built a very expensive griddle: the slab underneath will pull heat straight into the box and the system will run against it forever.
The part that decides whether the whole thing works is the seams.
Every joint in that deck gets hot-welded closed — including the corners, which is where people get lazy because nobody sees them. An unwelded seam is a path for water to get under the deck and into the insulation. Once insulation is wet it stops insulating, permanently, and you don’t find out until the freezer starts struggling months later and nobody can work out why.
Done properly, that floor outlives the equipment sitting on it.
Worth saying plainly: a floor that leaks cold leaks it every hour of every day, and it shows up on a meter, not on a repair invoice. That’s why it’s cheaper to build it right than to keep paying for it quietly.
Walk-in build, repair, or replacement — if it heats or cools, we handle it. 📞 718-802-1700
Service: Walk-in cooler and freezer repair.
This job is part of a case study: Walk-in freezer floor rebuilt from the subfloor up, inside a working kitchen.