
Walk-in freezer floor rebuilt from the subfloor up, inside a working kitchen
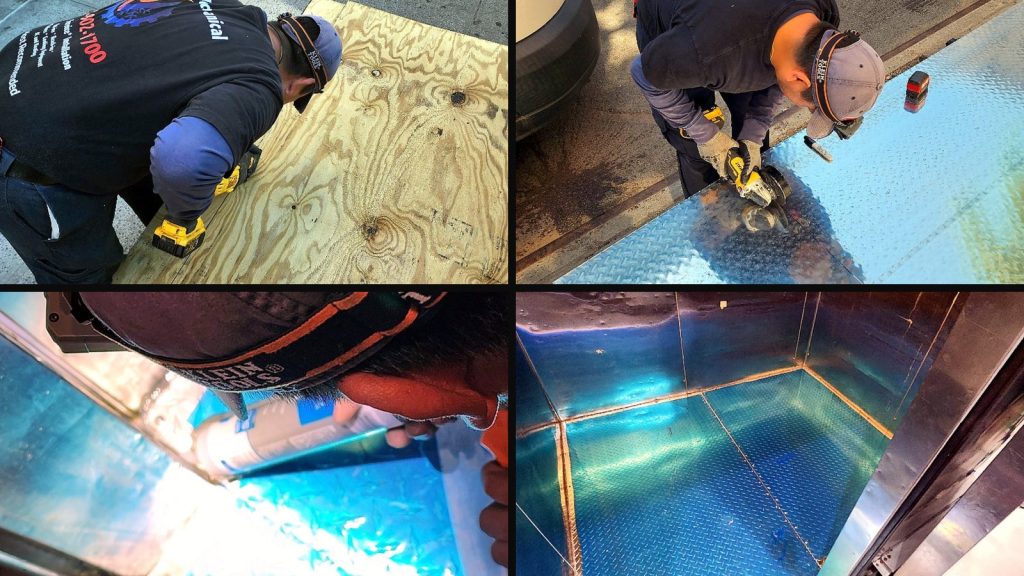
- Scope
- Full insulated floor build for a walk-in freezer: plywood subfloor, rigid insulation board, welded diamond-plate deck
- Timeline
- Built while the kitchen kept trading
- Location
- New York City
- Year completed
- 2026
- What was delivered
-
- Plywood subfloor cut, fitted and fixed inside the box shell
- Rigid insulation board over the subfloor
- Diamond-plate deck panels cut to size on site and fitted tight to the wall panels and door threshold
- Perimeter joint sealed
- Every deck seam hot-welded closed, corners included
- Kitchen operating throughout
The call
A commercial kitchen needed the floor of its walk-in freezer done properly. Not patched and not overlaid: a new insulated floor built from the subfloor up, inside the existing box, while the rest of the kitchen carried on trading around it.
Most of our work is repair. This one was a build, and the sequence is the whole story, so it is laid out here in the order it happened.
Why the floor is the hard side of the box
A walk-in floor is the bottom face of an insulated box, and it has the hardest job of the six sides. It carries rolling loads, takes every spill, gets mopped, and it still has to stop heat rising out of the slab underneath twenty-four hours a day. The build-up is three layers, each doing one job: a plywood subfloor for a flat, fixed base; rigid insulation board to stop the slab pulling heat into the box; and a diamond-plate deck to take the traffic.
Skip the insulation and you have built an expensive griddle. The slab pulls heat straight into the freezer and the refrigeration runs against it forever, on the electric meter rather than on any repair invoice.
The build, in order
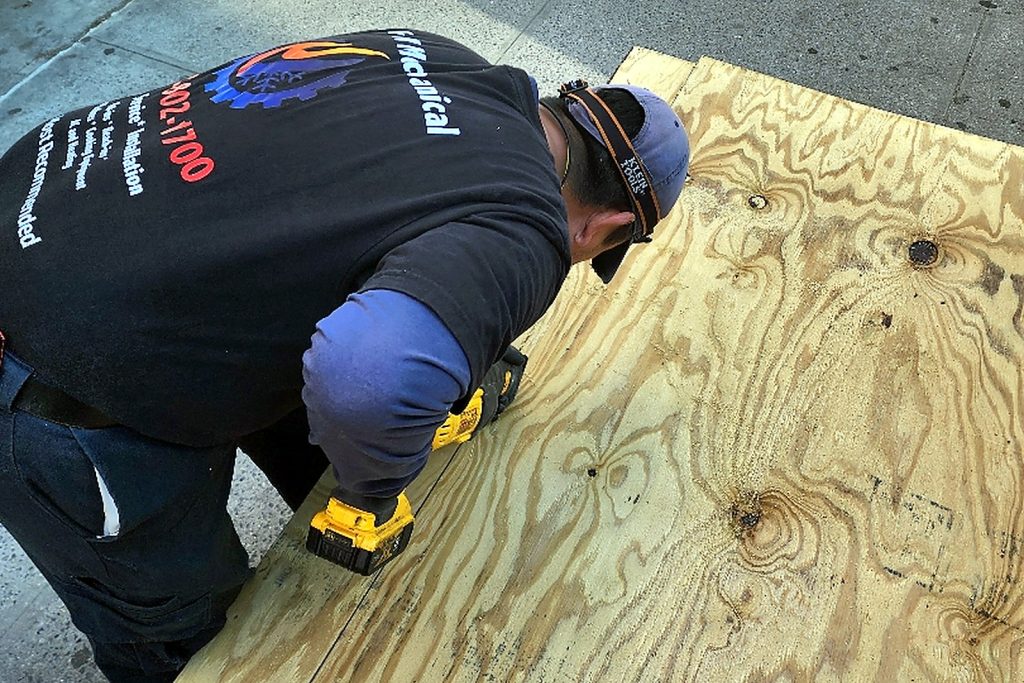
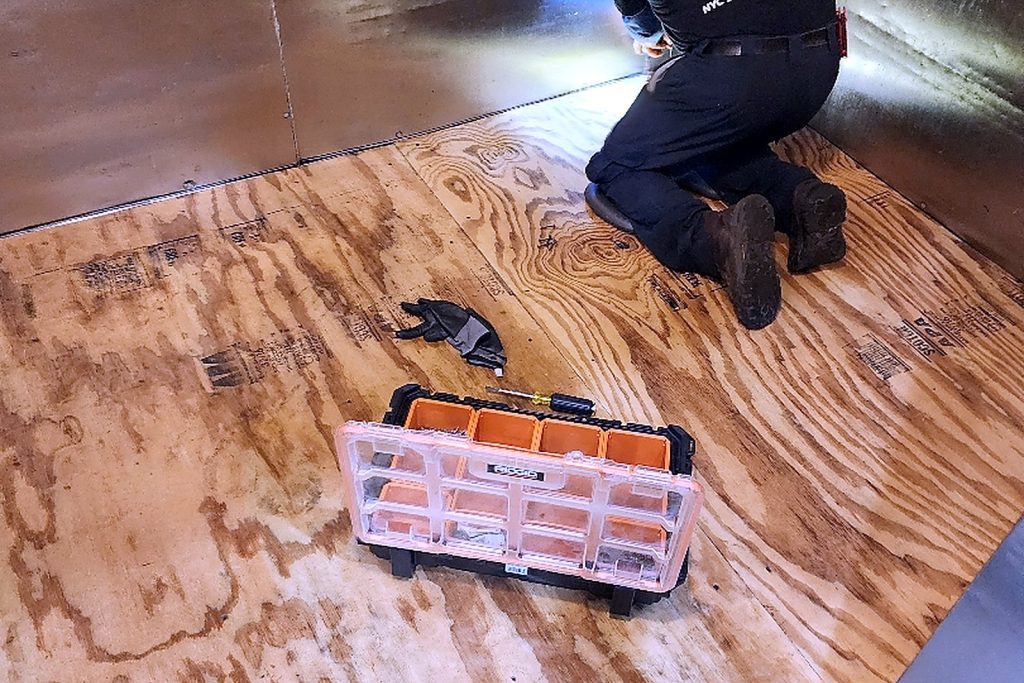
- Subfloor. Plywood sheets cut and screwed down to make one flat, fixed base inside the box shell.
- Insulation. Rigid insulation board laid over the plywood.
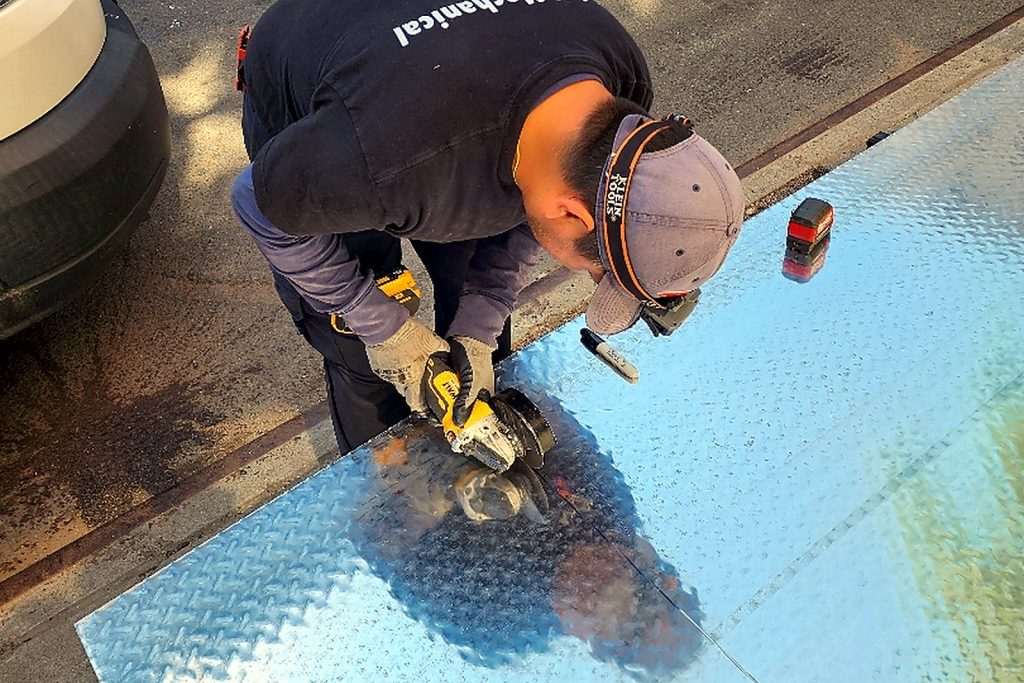
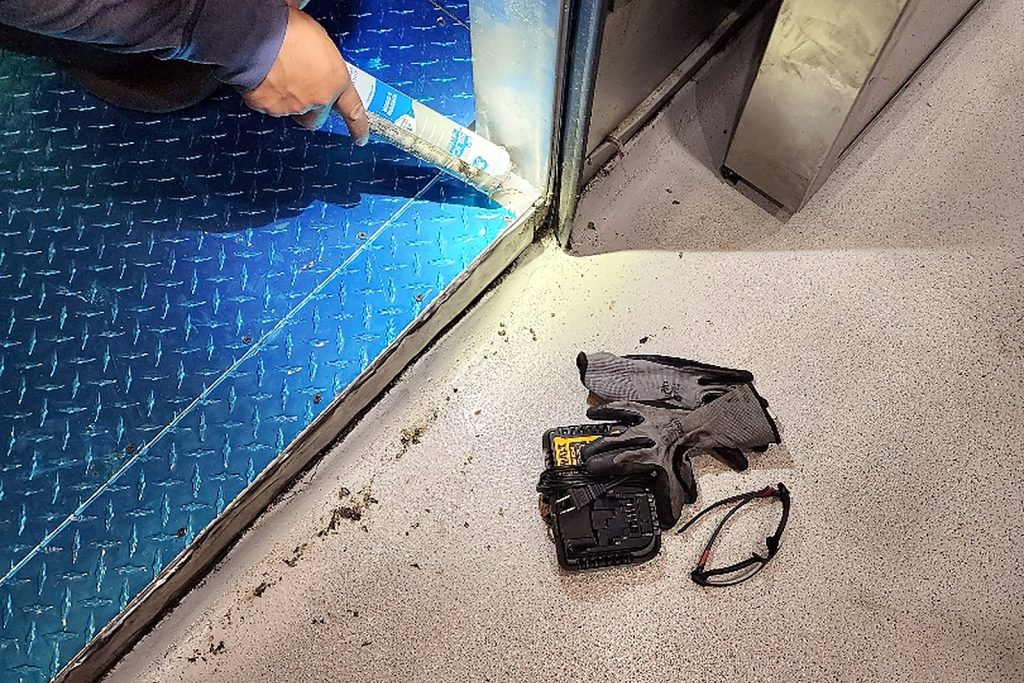
- Deck. Diamond-plate panels cut to size outside next to the truck, then carried in and fitted tight to the existing wall panels and the door threshold, protective film still on.
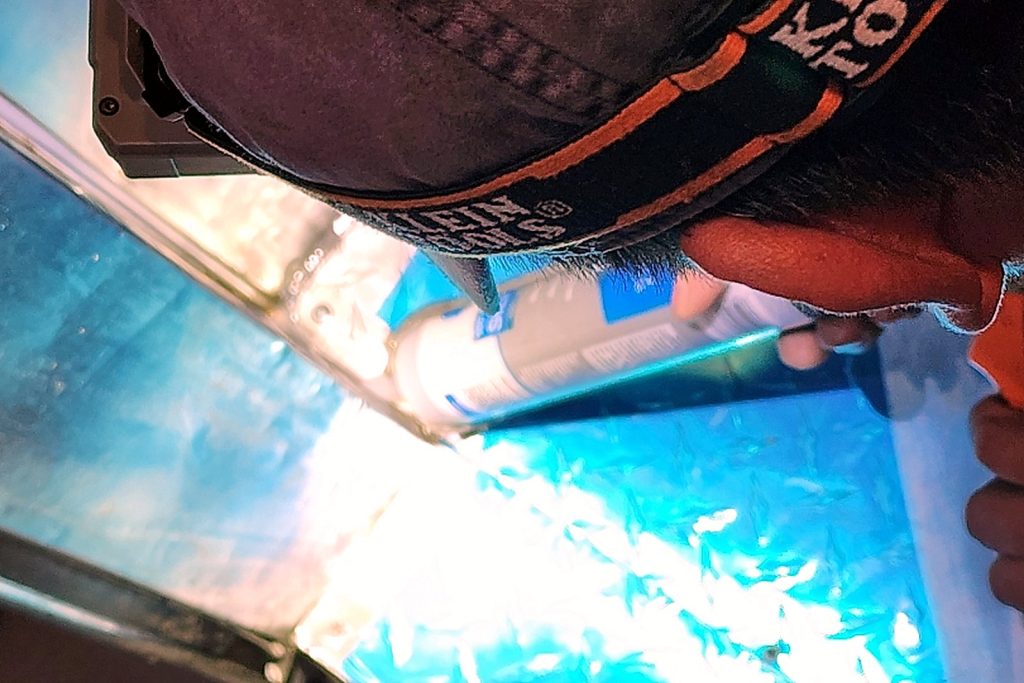
- Perimeter. The joint between deck and wall panels sealed.
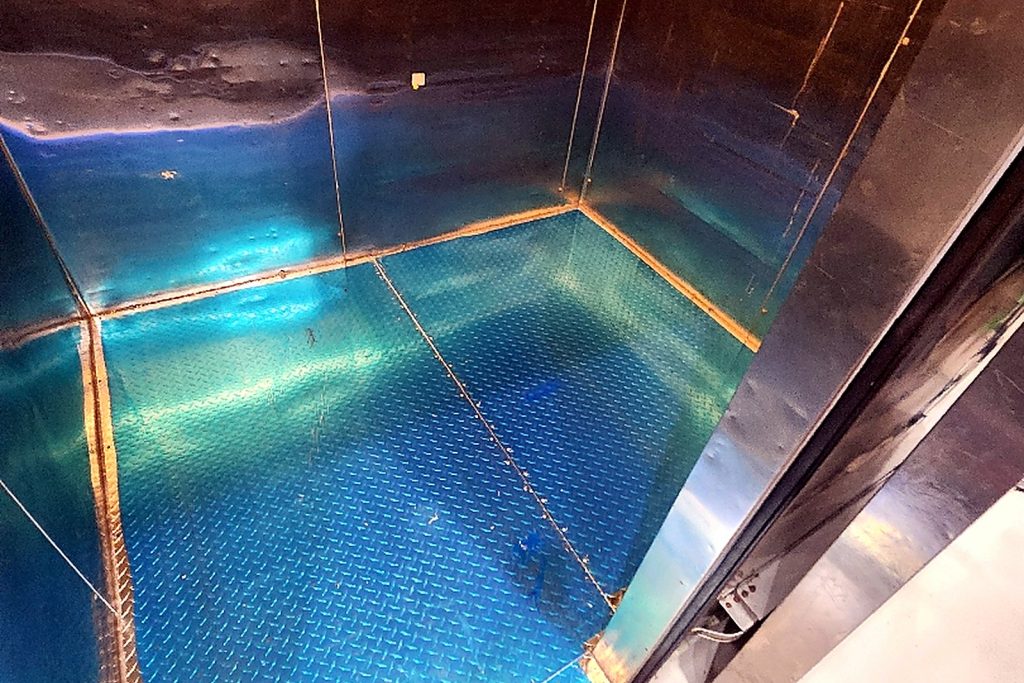
- Seams. Every joint in the deck hot-welded closed, including the corners.
Why the seams decide whether it works
Every joint in the deck was welded closed, including the corners, which is where people get lazy because nobody sees them. An unwelded seam is a path for water to get under the deck and into the insulation. Once insulation is wet it stops insulating, permanently, and nobody finds out until the freezer starts struggling months later and the cause is under a floor that looks fine.
Equipment and materials
| Box | Existing walk-in freezer shell, insulated metal wall panels, kept in place |
| Subfloor | Plywood sheathing, cut on site and fixed to the base |
| Insulation | Rigid insulation board over the subfloor |
| Deck | Diamond-plate tread panels, cut to size on site, film-protected during fitting |
| Seams | Hot-welded closed on every joint, corners included; perimeter joint sealed |
| Conditions | Kitchen in operation for the whole build |
What this means if you manage the building
One crew carried the whole scope: the carpentry, the insulation, the metal deck and the welding. There was no flooring sub to sequence against the refrigeration contractor, and the kitchen never closed. For a general contractor writing a walk-in spec, the two lines that matter are the three-layer build-up and the welded seams including the corners, because a floor that leaks cold leaks it every hour of every day.
From the job log: Building a walk-in freezer floor from the subfloor up (8 Sep 2026).